GoCart allows you to create custom pages for your website. This guide will walk you through the process of managing custom pages.
From the GoCart Settings Page, navigate to the "Pages" tab.
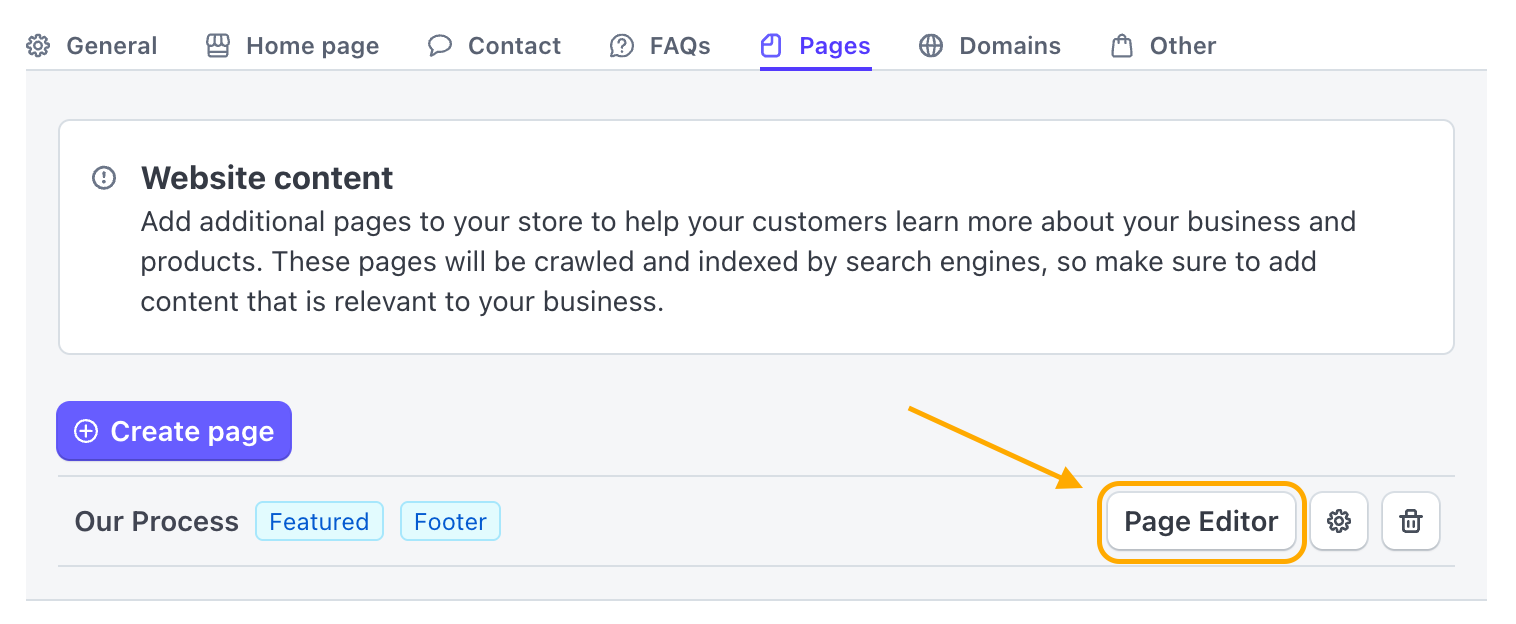
Just below the "Pages" tab, you will see a list of all of the custom pages you have created, if any.
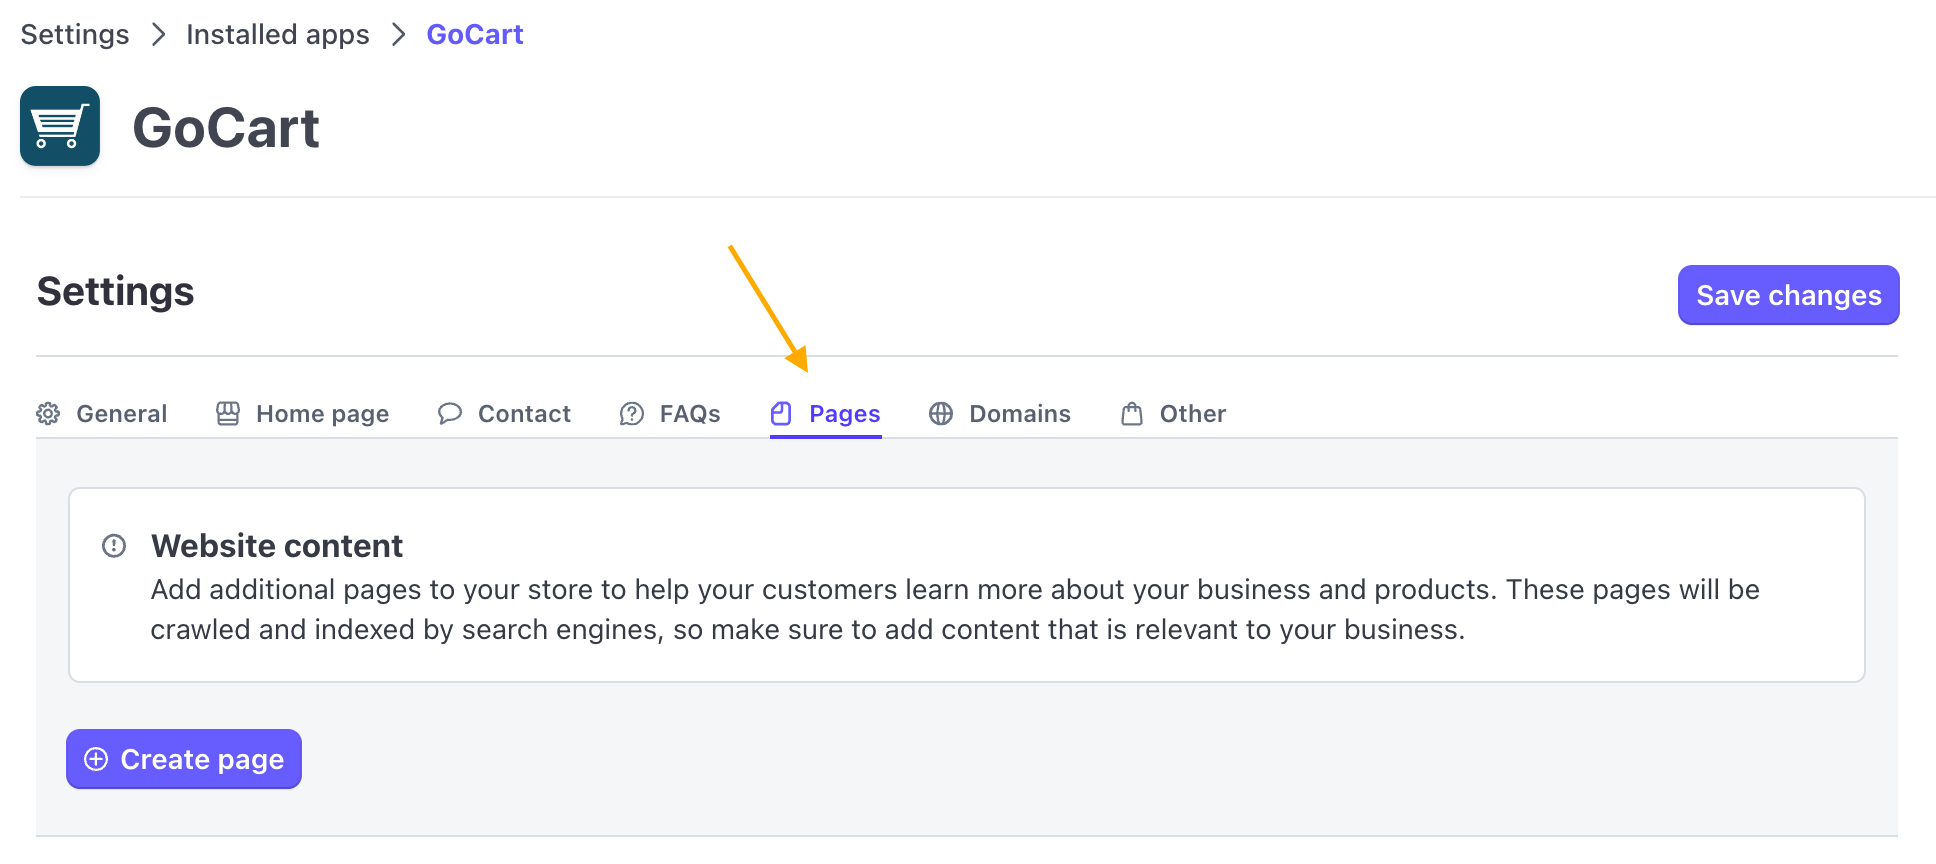
To create a new custom page, click the 'Create page' button. This will open a form where you can add information about the page.
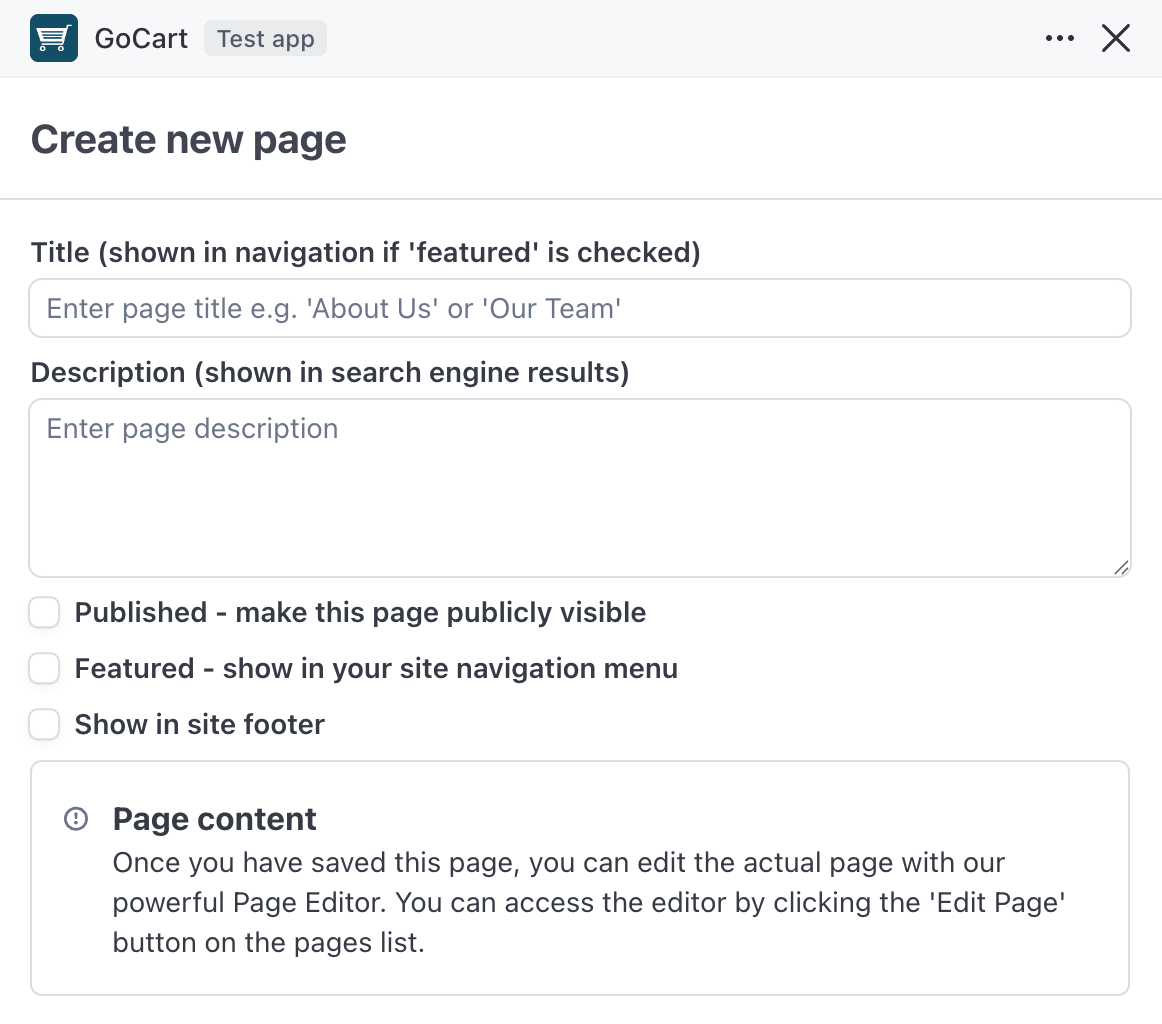
When you are done, click the 'Create page' button. When the modal closes, you should now see the new page entry you just created in the list.
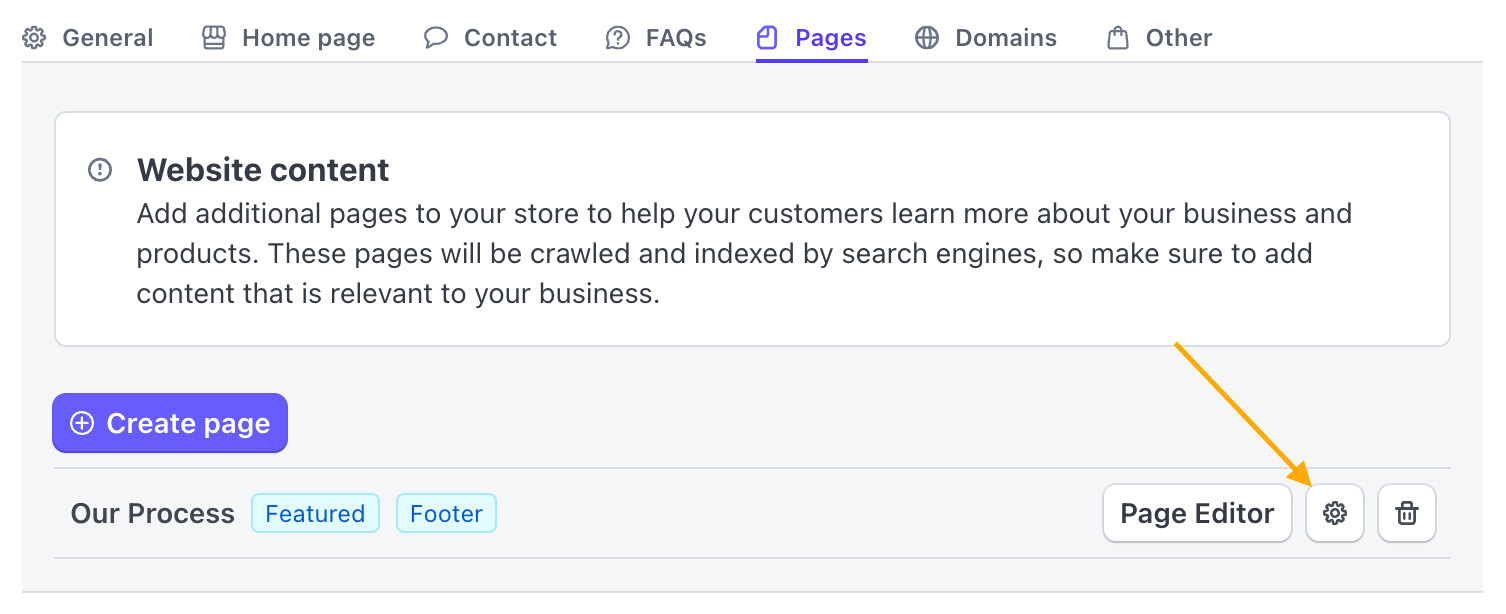
If you need to change any of the information you just entered about the page, you can click the 'Edit' button (the gear icon) on the page entry in the list. This will reopen the form where you can change the information, such as where the page is featured, or whether it is published.
Click the "Save changes" button when you are done.
Once you have created a custom page, you can edit the content of the page by clicking the 'Page editor' button on the page entry in the list. This will open the GoCart custom page editor.
The GoCart Custom Page Editor is a powerful WYSIWYG tool that allows you to build a layout, add text and images, and even embed code into the content of your page.
The GoCart Custom Page Editor is described in detail in the Custom Page Editor Guide.
To remove a page from your website, you can edit the page and uncheck the 'Published' box. This will keep the page in your account, but make it no longer visible to your visitors.
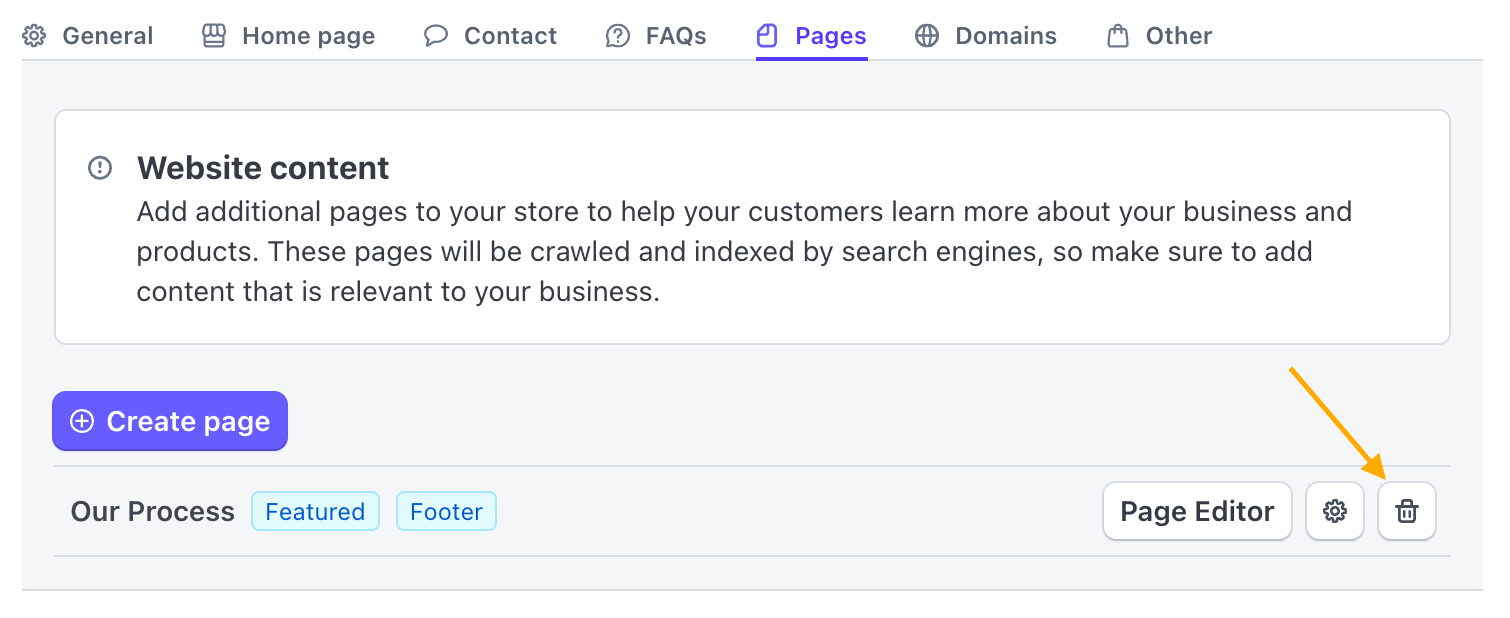
If you want to completely remove a custom page, you can click the 'Delete' button (the trash icon) on the page entry in the list. This will open a confirmation dialog. If you click the "Delete page" button, the page and all its content will be deleted.